

You washed your face last night, yet your skin still felt tight by morning.
That dry, pulled feeling after cleansing is what sends most people looking into oil cleansing in the first place.
Regular foaming washes often strip away the natural oils your skin needs to stay soft and calm.
Coconut oil has become one of the most-searched options for this method, mostly because it’s already in almost every kitchen.
But coconut oil is thicker and heavier than most face oils, and that changes how it should be used.
Get this wrong, and you could end up with clogged pores instead of the glow you were hoping for.
This guide walks through the exact steps and how to adjust them for your specific skin type.
- Can You Oil Cleanse With Coconut Oil?
- How to Do Oil Cleansing With Coconut Oil Step by Step
- For Oily Skin
- For Dry Skin
- For Combination Skin
- For Acne-Prone or Sensitive Skin
- How to Double Cleanse With Coconut Oil
- Can You Pre-Cleanse With Coconut Oil?
- Do You Purge When You Double Cleanse With Coconut Oil?
- Does Cleansing Your Face With Coconut Oil Clog Pores?
- Building a Coconut Oil Cleansing Routine That Actually Works for Your Skin
- FAQs
Can You Oil Cleanse With Coconut Oil?
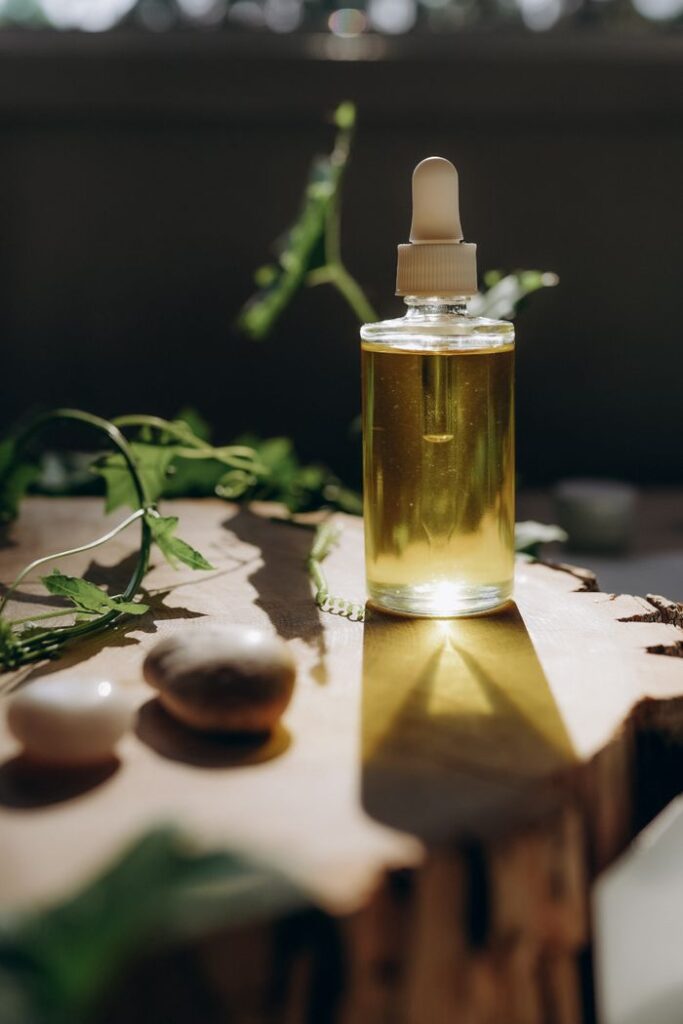
Yes, you can oil cleanse with coconut oil, though it behaves differently than lighter oils like jojoba or grapeseed.
Coconut oil has a comedogenic rating of 4 out of 5, placing it firmly in the higher-risk range for clogging pores.
That rating comes from a scale dermatologists have used since the 1970s to test how likely an oil is to block follicles.
At room temperature, coconut oil is semi-solid, and it melts into a thin, silky liquid the moment it touches warm skin.
That thick starting texture is exactly why it needs a firm massage and a proper rinse, not just a quick swipe-and-wipe.
Left on the skin overnight, coconut oil is far more likely to sit in pores and cause trouble than when it is massaged in and rinsed away within minutes.
Used briefly as a cleanser, though, it behaves differently: the oil dissolves grime and leaves it along with the skin.
How to Do Oil Cleansing With Coconut Oil Step by Step
Oil cleansing works on a simple idea: oil binds to oil.
Sebum, makeup, and sunscreen are all fat-based, so they cling to a similar fat-based liquid far more readily than to water alone.
Follow the steps below in order, and keep each one brief so the oily stays a cleanser instead of a leave-on treatment.
Step One: Warm the Oil Between Your Hands
Scoop about a teaspoon of coconut oil into your palm.
Rub your hands together for ten to fifteen seconds until the oil turns clear skin and liquid.
This warming step matters because cold, solid coconut oil drags on the skin instead of gliding across it.
Apply It to Dry Skin
Smooth the warmed oil over your entire face while your skin is still completely dry.
Avoid wetting your face first, since water and oil resist mixing, and this can make the massage feel clumsy.
Massage in Slow Circles
Work the oil into your skin using gentle, circular motions for one to two minutes.
Spend extra time over areas with makeup, sunscreen, or visible congestion, since this is where the oil does most of its dissolving work.
Add Steam to Open Things Up
Soak a washcloth in warm water and press it against your face for about ten seconds.
The gentle heat helps loosen debris sitting inside your pores, making the next step far more effective.
Wipe the Oil Away
Use the same warm, damp washcloth to gently wipe the oil from your face in soft, sweeping motions.
Rinse the cloth and repeat two or three times until no oily residue remains on your skin.
Follow With a Gentle Cleanser (Optional)
If your skin still feels coated, follow with a mild, low-foam cleanser to remove any trace of oil.
This step is optional for dry skin but recommended for oily or combination skin types.
For Oily Skin
Oily skin already produces plenty of sebum, so a heavy oil like coconut oil needs a lighter hand here.
Keep the massage step short, around thirty to sixty seconds, rather than the full two minutes suggested above.
Skip step six as optional and treat it as required instead, since a follow-up cleanser removes any oily film that could mix with your skin’s natural sebum.
Watch your T-zone closely during the first week, since this is where clogged pores tend to appear if oil lingers too long.
For Dry Skin
Dry skin can generally handle a bit more coconut oil and a longer massage without any trouble.
Use closer to a heaped teaspoon rather than a level one, and stretch the massage to a full two minutes.
Skip the follow-up cleanser from step six entirely, since a second wash can undo the moisture this method just restored.
A slightly oily finish is actually a good sign here, since it means your skin barrier is holding onto that hydration.
For Combination Skin
Combination skin needs a split approach because your T-zone and cheeks don’t produce oil at the same rate.
Apply a fuller amount to your cheeks and jawline, where skin tends to run drier, and massage those areas for close to a minute.
Use a much lighter touch across your forehead, nose, and chin, spending only fifteen to twenty seconds there before moving on.
Finish with a mild second cleanser, focusing mainly on the T-zone while leaving the drier areas of your face alone.
For Acne-Prone or Sensitive Skin
Patch test coconut oil on your jawline for two to three days before bringing it anywhere near active breakouts.
If skin feels fine there, start with a smaller amount than usual, roughly half a teaspoon, and keep the massage under a minute.
Rinse thoroughly and always follow with a gentle second cleanser, since leftover oil sitting near inflamed skin can slow healing.
Watch for these signs that coconut oil is not agreeing with your skin:
- New whiteheads are appearing in the same spots within a few days.
- Small, itchy bumps that were not there before you started
- Increased redness that lingers for hours after cleansing
- A tight, waxy film that will not rinse away completely
If any of these show up, stop and switch to a lighter oil such as jojoba or sunflower instead.
How to Double Cleanse With Coconut Oil

- Double cleansing pairs an oil cleanser with a water-based one, and coconut oil works well as the first half of that pair.
- Apply and massage the coconut oil into dry skin exactly as described in the main steps above.
- Wipe away the oil with a warm, damp cloth until your skin feels mostly clean but still slightly soft.
- Wet your face with lukewarm water and apply a gentle, water-based cleanser suited to your skin type.
- Massage the second cleanser in for thirty seconds, then rinse fully with lukewarm water.
- Pat your skin dry, then apply your regular moisturizer while it’s still a little damp.
Can You Pre-Cleanse With Coconut Oil?
Yes, coconut oil works well as a pre-cleanse, the first step that breaks down makeup and sunscreen before a proper wash.
Sunscreen, in particular, relies on oil-soluble ingredients to stay on the skin through sweat and water, so an oil-based first cleanse removes it far more completely than a foaming wash alone.
Use it only for this removal step, though, rather than as your sole cleanser on days you are wearing heavy makeup or SPF.
Keep the pre-cleanse brief, around thirty seconds of massage, since its only job here is to lift product off the surface before your main cleanser takes over.
Do You Purge When You Double Cleanse With Coconut Oil?
Purging is a real phenomenon, but it happens with active ingredients like retinoids far more often than with a simple oil cleanser.
Coconut oil does not speed up skin cell turnover, which is the mechanism believed to drive true purging in the first place.
What people often mistake for purging is usually a straightforward breakout caused by coconut oil’s high comedogenic rating, which clogs existing pores.
Here is how to tell the two apart:
- True purging clears within two to four weeks and fades faster than usual.
- A reaction breakout tends to worsen or plateau the longer you continue.
- Purging shows up in areas you’ve already broken out; reactions can appear anywhere.
- Purging rarely comes with itching or unusual redness, while reactions often do
If breakouts are spreading to new areas or worsening after three weeks, that points to a reaction rather than a purge.
Does Cleansing Your Face With Coconut Oil Clog Pores?
This is the central worry with coconut oil, and the honest answer is that it depends heavily on how long the oil stays on your skin.
Coconut oil carries a comedogenic rating of 4, placing it among oils considered moderately to highly likely to trigger breakouts, particularly for those with acne-prone or sensitive skin. A closer breakdown of the comedogenic scale from Curology shows why oils in this range deserve extra caution on facial skin specifically.
A 2018 clinical trial testing common comedogenic oils on acne-prone participants found that coconut oil produced microcomedones, tiny clogged follicles, at every single test site after four weeks of steady use.
That study involved leaving the oil on the skin for an extended period, which is a very different situation from a cleanse that lasts only a minute or two before being rinsed away.
Clogging becomes far more likely when coconut oil is left on overnight, applied in thick layers, or used on skin that already produces excess sebum.
Clogging becomes far less likely when the oil is massaged in briefly, then thoroughly rinsed, and paired with a second cleanser for oilier skin types.
Building a Coconut Oil Cleansing Routine That Actually Works for Your Skin

The right coconut oil routine really comes down to matching the technique to what your skin is already doing.
Dry skin tends to tolerate a single coconut oil cleanse just fine, since there is little natural oil already sitting on the surface to compete with.
Oily, combination, and acne-prone skin generally benefits from the double-cleanse method, since the second wash removes anything the oil alone would leave behind.
If you are still unsure which camp you fall into, start with double cleansing for the first two weeks and watch how your skin responds.
Clear, calm skin with no new bumps is your sign that you can safely experiment with a single cleanse on drier days.
Any tightness, shine, or breakouts along the T-zone is your cue to stick with the second cleanse for good.
FAQs
Is coconut oil safe for oily skin?
Coconut oil can work for oily skin, but only in small amounts and for a short time. Follow it up with a gentle second cleanser to ensure no oily residue is left on the skin.
How often should you oil cleanse with coconut oil?
Once a day is enough for most skin types, ideally in the evening to remove makeup, sunscreen, and buildup. Oily and acne-prone skin may benefit from cleansing every other day to avoid overloading the pores.
Can coconut oil cause purging or breakouts?
Coconut oil doesn’t speed up cell turnover, so it doesn’t cause true purging. New breakouts are more likely a reaction to its high comedogenic rating rather than a purge.
Is coconut oil better than other oils for oil cleansing?
Lighter oils like jojoba or grapeseed are generally safer since they carry a lower comedogenic rating. Coconut oil can still work well, but it needs a shorter contact time and a thorough rinse.
Do you need a second cleanser after using coconut oil?
Dry skin can usually skip this step without any issue. Oily, combination, and acne-prone skin should treat the second cleanser as a required step, not optional.
Can coconut oil cleansing help remove makeup and sunscreen?
Yes, coconut oil is quite effective at removing makeup and sunscreen, since both rely on oil-soluble ingredients. This makes it a solid pre-cleanse step
before your regular face wash.